A roof replacement is one of the most important investments you can make in your home. While the process may seem overwhelming at first, understanding each stage can help you feel more confident and prepared. A professionally installed roof protects your home from the elements, improves energy efficiency, enhances curb appeal, and increases property value.
At All American Roofing, we guide homeowners through every step of the roof replacement process, ensuring quality workmanship and a smooth experience from start to finish. Here’s a step-by-step look at what to expect during a professional roof replacement.
Step 1: Initial Roof Inspection
The process begins with a thorough roof inspection. A professional roofing contractor evaluates the current condition of your roof to determine whether replacement is necessary and identify any underlying issues.
During the inspection, contractors look for:
- Missing or damaged shingles
- Roof leaks and water damage
- Deteriorated flashing
- Sagging roof sections
- Ventilation problems
- Structural concerns
The inspection provides the information needed to develop a replacement plan.
Step 2: Estimate and Project Planning
After the inspection, you’ll receive a detailed estimate outlining the scope of work, materials, labor costs, and project timeline.
This stage typically includes:
- Material recommendations
- Color and style selections
- Cost breakdown
- Project scheduling
- Warranty information
A clear plan helps homeowners understand exactly what to expect throughout the project.
Step 3: Choosing Roofing Materials
Selecting the right roofing material is an important decision that affects durability, appearance, and long-term performance.
Popular roofing options include:
- Asphalt shingles
- Architectural shingles
- Metal roofing
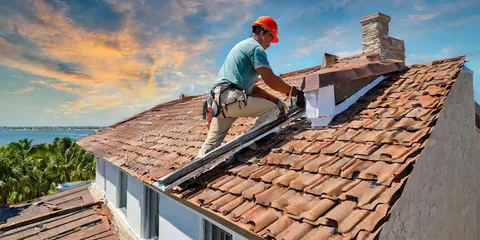
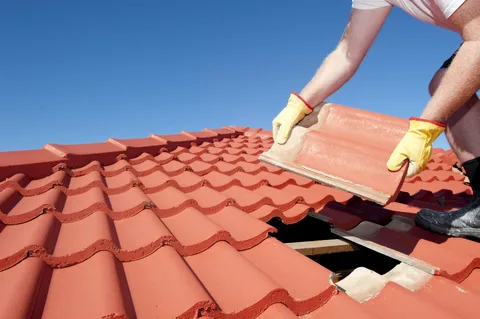
- Tile roofing
- Synthetic roofing products
Your contractor can help you choose materials based on your budget, climate, and design preferences.
Step 4: Preparing the Property
Before installation begins, the roofing team prepares the work area to protect your property.
Preparation may include:
- Covering landscaping and outdoor furniture
- Protecting windows and siding
- Setting up safety equipment
- Arranging material delivery
Proper preparation helps minimize disruptions and protects your home during construction.
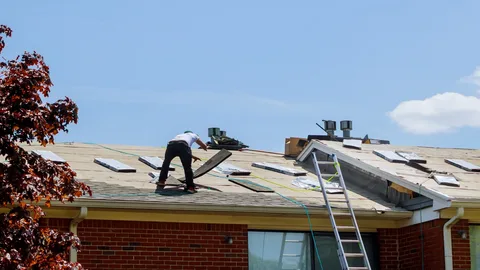
Step 5: Removing the Existing Roof
The old roofing materials must be removed before the new system can be installed.
This process involves:
- Stripping away old shingles
- Removing underlayment materials
- Inspecting the roof deck
- Disposing of debris responsibly
Removing the old roof allows contractors to assess the underlying structure.
Step 6: Inspecting and Repairing the Roof Deck
Once the old roof is removed, the roof decking is carefully inspected for damage.
Common issues may include:
- Rotting wood
- Moisture damage
- Weak structural areas
- Warped decking materials
Any necessary repairs are completed before the new roofing system is installed.
Step 7: Installing Underlayment and Protective Components
A high-quality roofing system includes multiple protective layers beneath the shingles.
These components may include:
- Water-resistant underlayment
- Ice and water shields
- Drip edge installation
- Flashing around roof penetrations
These materials provide additional protection against moisture intrusion.
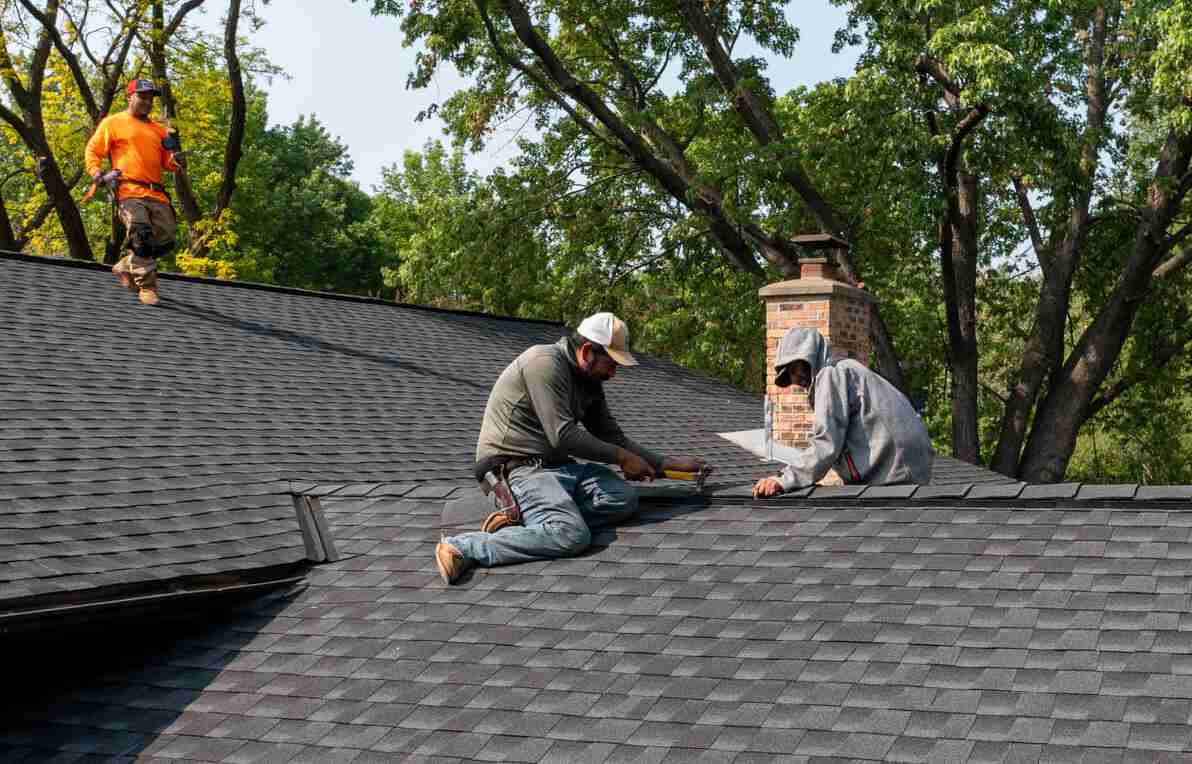
Step 8: Installing the New Roofing Material
With the foundation in place, the new roofing materials are installed according to manufacturer specifications and industry standards.
Professional installation ensures:
- Proper alignment
- Secure fastening
- Weather resistance
- Long-term durability
This stage transforms the appearance and performance of the roof.
Step 9: Ventilation and Finishing Details
Proper roof ventilation is essential for energy efficiency and moisture control.
The contractor may install or upgrade:
- Ridge vents
- Soffit vents
- Roof vents
- Attic ventilation systems
Finishing details are completed to ensure optimal performance and appearance.
Step 10: Final Inspection and Cleanup
After installation is complete, the roofing team conducts a final inspection to verify quality and ensure everything meets project specifications.
The final stage includes:
- Quality control checks
- Debris removal
- Magnetic sweeps for nails
- Site cleanup
- Warranty review
Homeowners receive a completed roofing system ready to provide years of protection.
Benefits of Professional Roof Replacement
Replacing your roof offers numerous advantages, including:
- Improved weather protection
- Enhanced curb appeal
- Increased property value
- Better energy efficiency
- Reduced maintenance costs
- Greater peace of mind
A professionally installed roof is a long-term investment in your home’s safety and value.
Why Choose All American Roofing
All American Roofing provides expert roof replacement services designed to deliver durability, performance, and customer satisfaction. Their experienced team offers:
- Comprehensive roof inspections
- Professional roof replacement
- High-quality roofing materials
- Residential roofing solutions
- Reliable workmanship and service
Their commitment to excellence ensures every roof replacement project is completed with precision and care.
Conclusion
Understanding the roof replacement process can make the experience much less stressful. From the initial inspection and material selection to installation and final cleanup, each step plays an important role in creating a durable, long-lasting roofing system.
With All American Roofing, homeowners can trust that their roof replacement project will be handled professionally from start to finish, providing reliable protection and enhanced value for years to come.